


Vaping has become a popular alternative to smoking, offering a variety of flavors and a customizable experience. However, as with any electronic device, vape mods and tanks can encounter technical issues. One common problem vapers face is the “No Atomizer” or “Check Atomizer” message. This guide aims to provide a comprehensive overview of what an atomizer is, why these messages appear, and detailed troubleshooting steps to resolve the issue.
Understanding the Atomizer
An atomizer, often referred to as a coil, is a crucial component in a vape device. It is typically made up of a metal coil and a wick. The primary function of the atomizer is to heat up and vaporize the e-liquid, producing the vapor that users inhale. Atomizers come in various designs and materials, but their fundamental purpose remains the same across different types of devices.
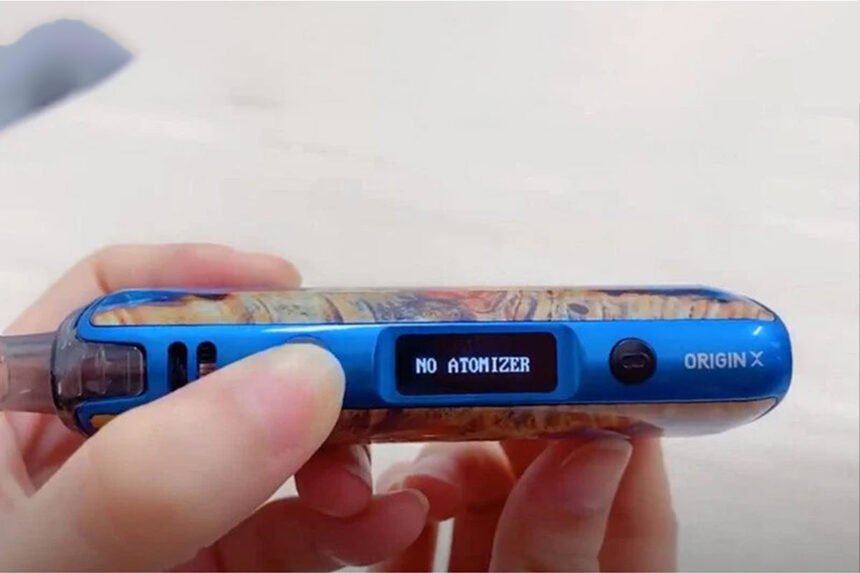
What Does “No Atomizer” or “Check Atomizer” Mean?

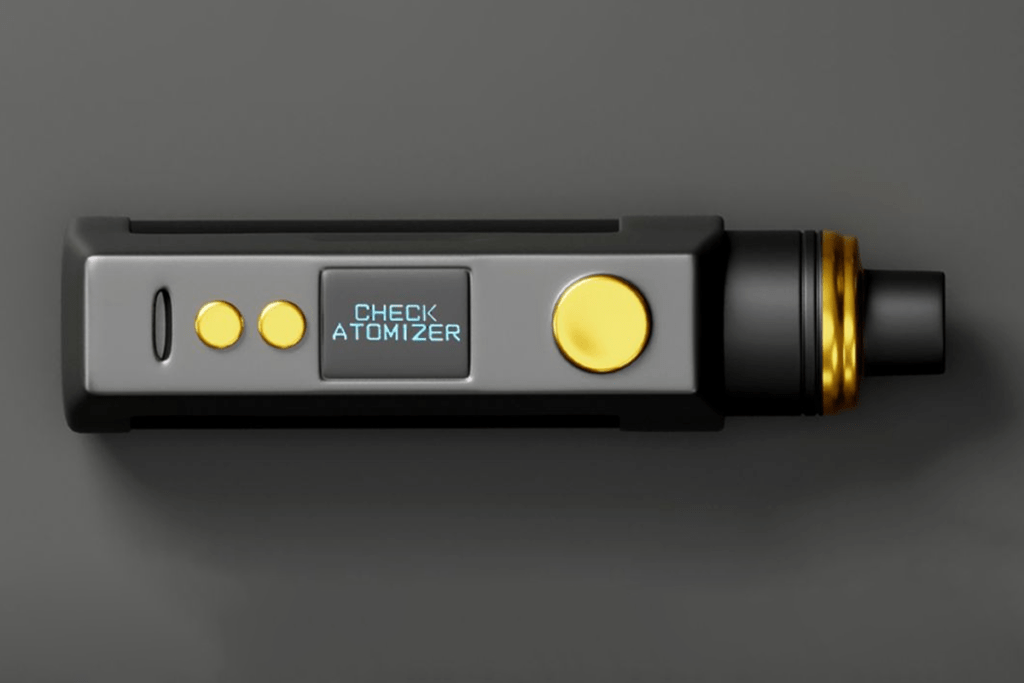
When your vape device displays a “No Atomizer” or “Check Atomizer” message, it indicates that the mod does not detect the tank or the coil. Essentially, the device is unable to establish a connection with the atomizer. This issue can arise even if the tank appears to be securely attached, often due to minor connection problems that develop over time.
Isolating the Issue: Mod or Tank?
Before diving into troubleshooting, it is essential to determine whether the problem lies with the mod or the tank. Here’s how you can isolate the issue:
Test with Another Mod or Tank:
- Attach your tank to a different mod. If it works, the problem is likely with your original mod.
- Attach a different tank to your mod. If it works, the issue is with your original tank.
This initial step helps narrow down the source of the problem, making it easier to troubleshoot effectively.
Troubleshooting Tank Issues
Most of the time, the problem will be with the tank rather than the mod. Here are the steps to troubleshoot tank-related issues:
Check Tank Connections:
- Ensure that the tank is securely screwed onto the mod. Remove the tank and reattach it.
- On some devices, you may see a message asking if you are using the same coil or a new one. Follow the prompts or try to fire the device again.
Inspect the Atomizer Head (Coil):
- Unscrew the base of the tank to access the coil. You may need to empty the juice first.
- Remove the coil and screw it back in place, ensuring it connects cleanly without crossed threading.
- A useful trick is to turn the coil left until you hear a click, indicating it is in position, then screw it right to secure it.
Clean the Coil and Connections:
- Use a cotton bud to clean the base of the coil and the threading where it connects to the tank.
- Clean the 510 connection at the base of the tank and the connection point on the mod. Debris or leaked vape juice can disrupt the connection.
Try a New Coil:
- If the above steps do not work, the coil may be faulty. Replace it with a new one and ensure it is connected properly.
Check the Tank’s Connection Point:
- Inspect the 510 connection to see if the contact point is too recessed. On older tanks, you may be able to adjust this with a flat-head screwdriver.
Troubleshooting Rebuildable Atomizers
For those using rebuildable atomizers (RDAs or RTAs), additional factors can cause connection issues:
- Tighten Post Screws: Ensure the screws connecting the coil to the post are tight enough.
- Check Coil Contact: Make sure the coil is not making contact with the outer chamber, which can cause a short circuit.
- Inspect Coil Wire: Look for breaks in the coil wire, especially if you are vaping at higher power settings. A broken coil cannot complete the circuit, leading to a “No Atomizer” message.
Troubleshooting Mod Issues
If the problem lies with the mod, the fixes are generally more complex and sometimes risky. Here are a few steps you can take:
Clean the Connection Point:
- Use a cotton bud to clean the threading and 510 connection on the mod. Ensure there is no debris or dirt disrupting the connection.
Adjust the Contact Point:
- On older devices with adjustable contact points, you may need to raise the contact point slightly. However, this is not recommended for most modern devices with spring-loaded contact points.
Summary and Best Practices
Encountering a “No Atomizer” or “Check Atomizer” message can be frustrating, but it is usually a solvable issue. Here is a quick summary of the steps to take:
- Isolate the Problem: Determine if the issue is with the mod or the tank.
- Check and Secure Connections: Ensure everything is screwed in properly and securely.
- Clean Components: Remove any debris or leaked juice from the coil, tank, and mod connections.
- Replace Faulty Coils: If cleaning and securing do not work, try a new coil.
- Inspect and Adjust Contact Points: Ensure the contact points on both the tank and mod are making proper contact.
By following these steps, you can often resolve the issue and get back to enjoying your vaping experience. Regular maintenance and cleaning of your device can also help prevent these issues from occurring in the first place.


you got a very fantastic website, Glad I observed it through yahoo.
Helped me a lot, just what I was searching for : D.
Very fantastic info can be found on blog.
Hi! I know this is somewhat off topic but I was wondering which blog platform are you using for this website? I’m getting sick and tired of WordPress because I’ve had issues with hackers and I’m looking at alternatives for another platform. I would be fantastic if you could point me in the direction of a good platform.